Create Live Search In Laravel Using AJAX
In today’s article, I will demonstrate the process of creating a live search in Laravel and AJAX.
Whether you have a blog or an ecommerce store, a search bar is always an essential component of the UI. However, the days of simple search bar is over. These days, a live search bar is much more efficient than a simple search bar because it displays similar content in real time. This increases the chance of landing a sale because the customer could see the largest selection of related products.

To demonstrate the full capabilities of a live search bar, I will create a product table and the search bar will carry out a live search through the product titles and display all the related content.
Prerequisites
Before proceeding forward, I assume you have a Laravel application installed on a web server. For the purpose of this article, I am using:
- Linux/Unix or WAMP/XAMPP environment
- Laravel 5.5
- PHP 7.1
- MySQL
- Web server (Apache, NGINX or integrated PHP web server for testing)
To fulfill all the requirements, I have installed Laravel on Cloudways server because it has everything I’ll need for this project. If you do not have an account on Cloudways, signup for free, and check out the following GIF to setup the server and application in just a few clicks.
Set the Database Credentials in .env
Open the Applications tab in the Cloudways platform. In the Application Access Detail, you will see the database credentials for your application. Now go to the .env file, located in the application public root folder and add the credentials there.
Create the Migration
Go to the Cloudways platform, and launch the SSH terminal. Once it is up, go to the root of your application with the following commands.
Now that you are in the application folder, type the following command to create the migration for the product.
Now that you have created the migration, go to database/migration/<date>_create_products_table.php file and paste the following code in it.
Now that the migration is up, run the following command in the terminal:
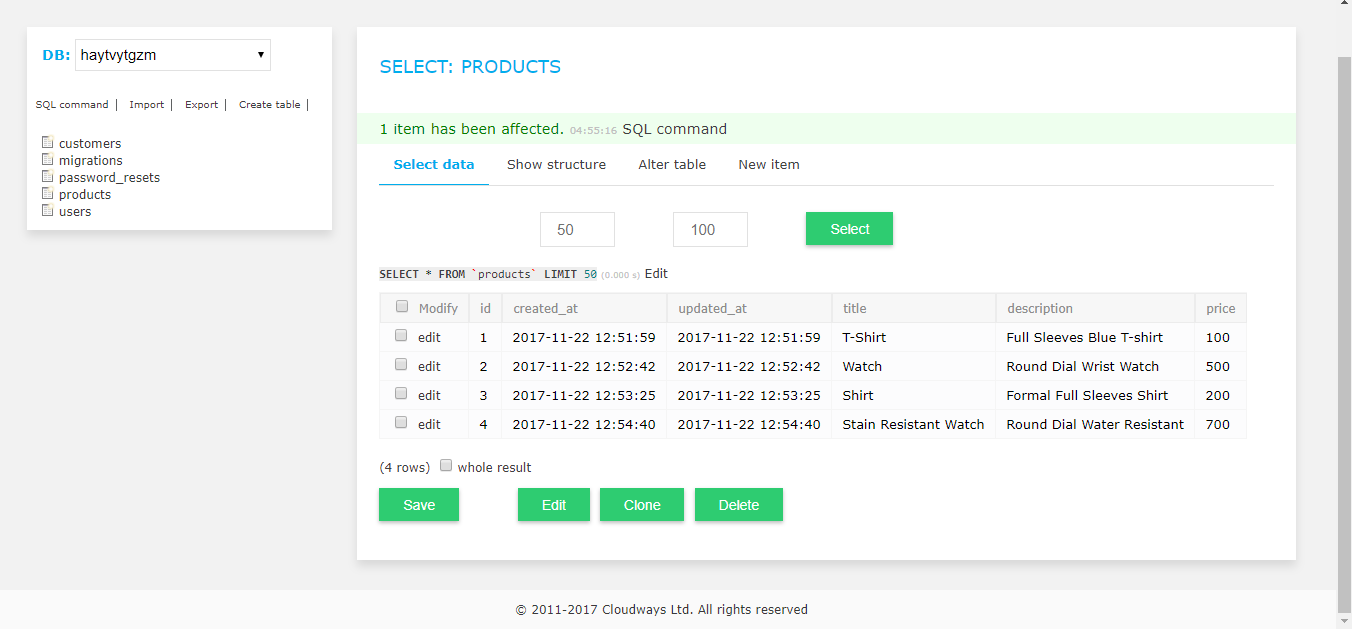
The next step is the migration of the table schema into the database, Go to the database by clicking the Launch Database Manager, and populate the table with dummy data.

Create the Controller
Now that the database table is ready, the next step is the creation of the controller. Type the following command in your terminal.
Now go to app/Http/controller/SearchController.php and paste the following code in it
Now let’s take a close look at this code and understand what’s happening here. First, I created an index function which returns the view (I will create the view in the next step). After that, there is another function search that takes the variable from the search bar, and pass it to the AJAX call, executing a database query. This will fetch all the data from product database where title matches the query. Finally, I created the output in HTML format and return it as a response.
Create the View
Now that the Controller is ready, I will next create the view for the search bar. Go to resources/views/search and create a file named as search.blade.php. Next, add the following code in it.
Now let’s take a deeper look in the code and understand what’s happening here.
In the head tag, I created a meta tag, which will allow the AJAX call to be executed on the server. Next, I have included Bootstrap, CSS and a jQuery library.
In the body tag I have create a simple UI for displaying the product information using Bootstrap CSS. And, then I have used an Ajax Script. Now this is the important part to understand.
The AJAX script pick the value from the search bar as soon as you type in. It sends the value to the /search url of your application which will execute the second function of the controller. It will make the search in the DB and get the response back in this AJAX code. Once it is received, the response will be displayed in the HTML format.
The second AJAX script is used to validate the token to ensure AJAX script executable.
Setting Up Routes
Go to routes/web.php and add the following route method in it.
Testing the Live Search Bar
Now that everything is ready, go to the application and launch the app using the staging URL.

You will see the following UI:

Now to test the functionality, carry out a search (you could start with the following example):

As you can see, as I entered W, the search bar started returning results containing the partial matches.
Final Words
As you could see, implementing a live search in Laravel with AJAX is a simple enough task. In many cases, the implementation process is easy and adds a significant improvement to the UI/UX of your website. If you get any problem or if you just want to say thanks, feel free to comment below and follow me on twitter. Happy Coding..!!

Comments
Post a Comment